Homemade cupcakes can taste wonderful and still look a little plain on the table. A swirl of frosting helps, but coordinated colors, one thoughtful decoration, and tidy packaging can make a batch feel ready for a celebration. You don’t need professional decorating tools or hours of practice to get a polished result.
When you’re bringing cupcakes to a party or giving them as a gift, the details around the treats matter too. A food label maker can help you identify flavors and add a neat finishing touch to boxes or serving trays. These simple ideas will help your cupcakes look more beautiful, from the first swirl of frosting to the final presentation.
Start with a Simple Plan
Pick a color palette, choose one decoration, and decide how you’ll display or package the cupcakes before you begin.
Keep the Finish Consistent
Even portions, repeated toppings, and coordinated liners make a homemade batch look thoughtfully prepared.
Make Flavors Easy to Spot
Small cards or package labels help guests choose when you’re serving several varieties.
Start with an Even Base
Good decoration starts before you reach for the frosting. Let cupcakes cool completely after baking. If they’re even slightly warm, frosting can soften, slide, or lose its shape. A wire rack helps air move around the cupcakes so they cool more evenly.
Try to portion the batter consistently. A cookie scoop or measuring spoon makes it easier to fill each liner to a similar level, which helps the cupcakes bake to a uniform height. If a few tops rise much higher than the others, you can carefully trim them with a small serrated knife once they have cooled.
Loose crumbs can show through pale frosting and make a smooth finish harder to achieve. Brush away any crumbs first. For especially tidy results, spread on a thin layer of frosting, chill the cupcakes briefly, and then add the final layer. You don’t need to cover every imperfection; a clean, even surface is a good starting point.
Choose a Simple Color Palette
A small, coordinated color palette makes cupcakes look intentional without requiring elaborate decorating. Choose two or three colors that suit the occasion, then repeat them across the frosting, liners, and toppings.
- Birthday party: Use the guest of honor’s favorite color with one contrasting accent.
- Wedding or shower: Try soft colors that complement the table decorations.
- Summer gathering: Pair white frosting with berries and a small green accent.
- Holiday celebration: Use familiar seasonal colors, keeping the overall combination balanced.
Add food coloring a little at a time. Some colors deepen as they sit, so mix a small test portion before coloring the full bowl. Gel coloring can give you a stronger shade without adding much liquid to the frosting.
The liners don’t have to match the frosting exactly. Repeating one shade in two or three places is usually enough to tie the display together. For example, pale pink frosting, cream liners, and a small red berry create a coordinated look without making every detail compete for attention.
Add One Focal Decoration
One clear finishing touch can make a cupcake look complete. Instead of piling on several different toppings, choose a decoration that fits the flavor and the occasion.
For a Fresh Look
Add one raspberry, a strawberry slice, or a small piece of citrus. Pat fresh fruit dry and place it on the frosting close to serving time.
For a Chocolate Finish
Try a few chocolate curls, a light cocoa dusting, or one small chocolate piece in the center.
For a Celebration
Use a few sprinkles, a small candy, or a paper topper that matches the event colors.
If you’re using sprinkles, add them while the frosting is still soft so they stay in place. A small pinch often looks neater than covering the whole top. Repeating the same topping across a batch gives the cupcakes a consistent finish, while different toppings can help distinguish separate flavors.
For edible flowers, choose flowers sold as food-safe and intended for consumption. Garden flowers may have been treated with products that aren’t suitable for food. When you’re unsure, choose a simple alternative such as fruit or chocolate.
Make Frosting Look Neat
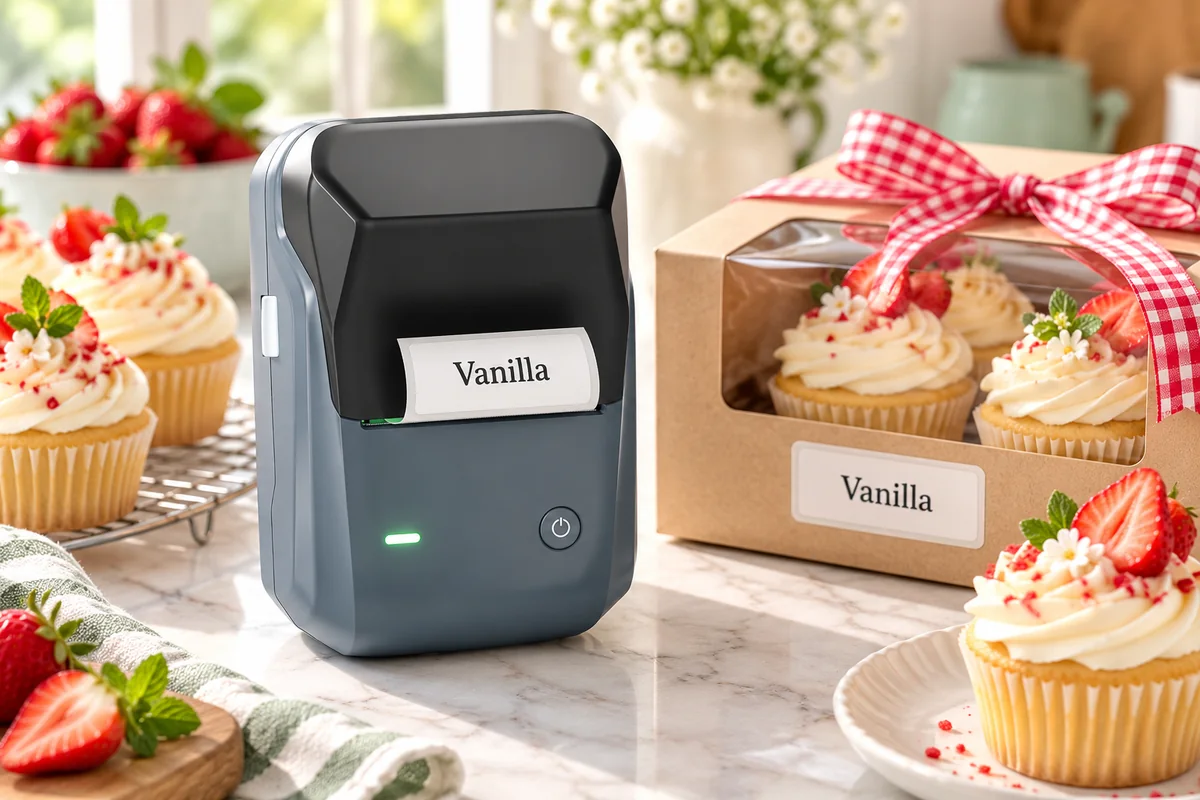
A piping bag can create a familiar swirl, but you don’t need a large set of decorating tips. A star tip makes ridged swirls, while a round tip creates smooth dots or lines. If you don’t have a piping bag, put frosting in a sturdy resealable bag and snip off a small corner.
Practice on a plate first. Hold the bag upright and apply steady pressure. Stop squeezing just before you lift the tip to help finish each swirl cleanly. If the frosting feels too soft to hold its shape, chill it for a few minutes. If it’s too firm to pipe, let it sit at room temperature briefly.
You can also spread frosting with a small spatula or the back of a spoon. Create a gentle swirl in the center, then add one topping. Keep the amount of frosting similar on each cupcake. Even portions help the batch look polished, even when the decoration itself is simple.
Arrange Cupcakes with Care
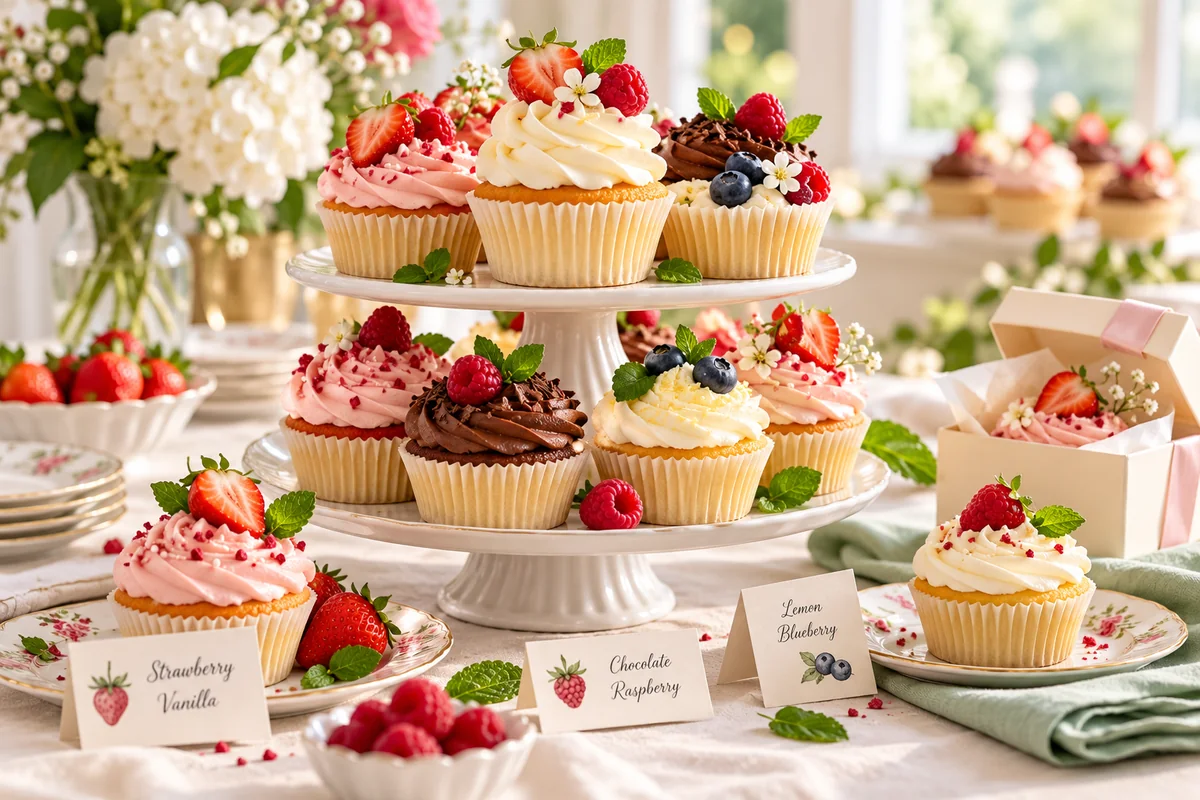
A clean, thoughtful display can make homemade cupcakes feel ready for a celebration. Use a tray, cake stand, or tiered stand that leaves enough space for guests to pick up a cupcake without touching the others. If you have multiple flavors, group each flavor together instead of mixing them randomly.
A tiered stand adds height, but stability matters more than decoration. Place it on a level surface and make sure guests can reach the cupcakes comfortably. If the table is small, a single tray may be easier to serve from than a tall display.
Finish the table with a few useful details: a small greeting card, napkins, and a clear place for serving utensils. Choose a tablecloth or tray that complements the cupcake colors. Too many props can make the setup feel crowded, so let the cupcakes remain the main attraction.
Use Labels to Identify Flavors
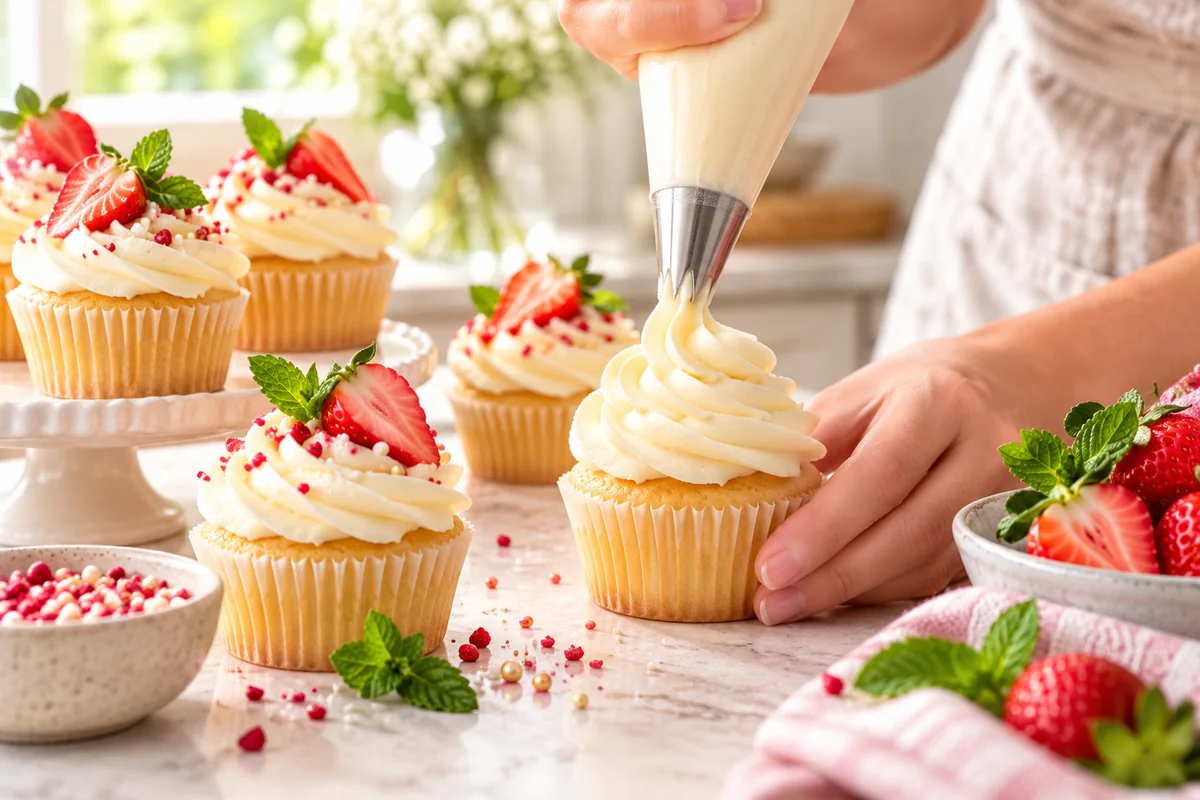
When several cupcakes look similar, flavor labels help guests choose. A small card beside each group can identify “Vanilla Bean,” “Chocolate,” or “Lemon.” This is especially helpful when the frosting colors are alike or when the decorations don’t reveal the flavor.
A food label maker can create consistent labels for cupcake boxes, favor bags, and party trays. You can print short flavor names, a thank-you message, or the date the cupcakes were prepared. Keep the wording brief and readable so people can understand it at a glance.
If you’re including ingredient information, check your recipe before printing and make sure the label reflects what is actually in the batch. Clear information can help guests make a choice, but a label should not replace careful handling or accurate ingredient details. Place it on the outside of the packaging, away from direct contact with the food.
For home bakers who regularly package treats, the NIIMBOT B1 2-inch inkless thermal label printer is one option to explore for making labels. You can use labels to distinguish flavors, mark gift boxes, or add a simple personal touch to a homemade order.
| Occasion | Label Idea | Where to Place It |
|---|---|---|
| Party tray | Short flavor name | On a small card beside the matching group |
| Gift box | Recipient name or thank-you note | On the outside of the box |
| Mixed-flavor order | Flavor and preparation date | On the box or individual package |
Package Cupcakes for Gifting
Use a cupcake box with inserts that keep each cupcake in place. Check that the frosting and toppers won’t touch the lid when it closes. If you’re using tall swirls, choose a deeper box or simpler decorations that are less likely to get smudged.
Carry the box on a flat surface and keep it level during the trip. A box that slides across a seat can undo careful decorating. If you’re preparing several gifts, group each order together and label the outside so you can quickly identify the right box.
Coordinate the packaging with one color from the cupcakes. A matching ribbon, simple tag, or printed label is enough to make the gift feel considered. A food label maker can be useful when you’re preparing multiple boxes with different flavors or messages, since each label can reflect what’s inside.
Frequently Asked Questions
How can I decorate cupcakes without piping tools?
Spread frosting with a small spatula or the back of a spoon, then add one topping in the center. Similar frosting portions and a repeated decoration will help the batch look coordinated.
What cupcake decorations are easiest for beginners?
Sprinkles, berries, chocolate pieces, and paper toppers are easy to use. Choose one style and repeat it across the cupcakes for a tidy, finished look.
How can I label different cupcake flavors?
Place a small card beside each flavor group, or add a short label to each box. A food label maker can help create consistent labels for party trays, gift boxes, or favor bags.
When should I decorate homemade cupcakes?
Wait until cupcakes have cooled completely before frosting them. Add fresh fruit or toppings that may soften as close to serving time as practical.
How do I keep cupcake decorations neat during transport?
Use a box with inserts that hold cupcakes in place, and make sure the lid has enough clearance for the frosting. Carry the box level and avoid stacking anything on top.
Make the Finishing Touches Count
To make homemade cupcakes look more beautiful, start with an even base, choose a small color palette, and add one focal decoration. A neat frosting finish and a thoughtful arrangement can make a batch feel special without requiring advanced decorating skills.
When you’re serving several flavors or preparing cupcakes as gifts, clear labels make the display easier to navigate and the packaging more personal. If you often label homemade treats, explore the NIIMBOT B1 label printer to see whether it suits your needs.
Add a Personal Touch to Cupcake Packaging
Explore the NIIMBOT B1 for flavor labels, gift boxes, and homemade treats.