A fruit platter can bring color and freshness to a party table, but the best-looking tray is also easy to serve and simple to keep organized. A little planning helps you choose fruit with different colors and textures, prepare it at the right time, and arrange it so guests can spot their favorites.
If you are packing fruit for a picnic, setting out a party tray, or preparing snacks ahead, labels can make the spread easier to understand. A food label maker can help identify fruit varieties, note when a container was prepared, or give a serving tray a tidy finishing touch. Use these practical tips to make fresh fruit look inviting while keeping preparation manageable.
Choose a Colorful Mix of Fruit
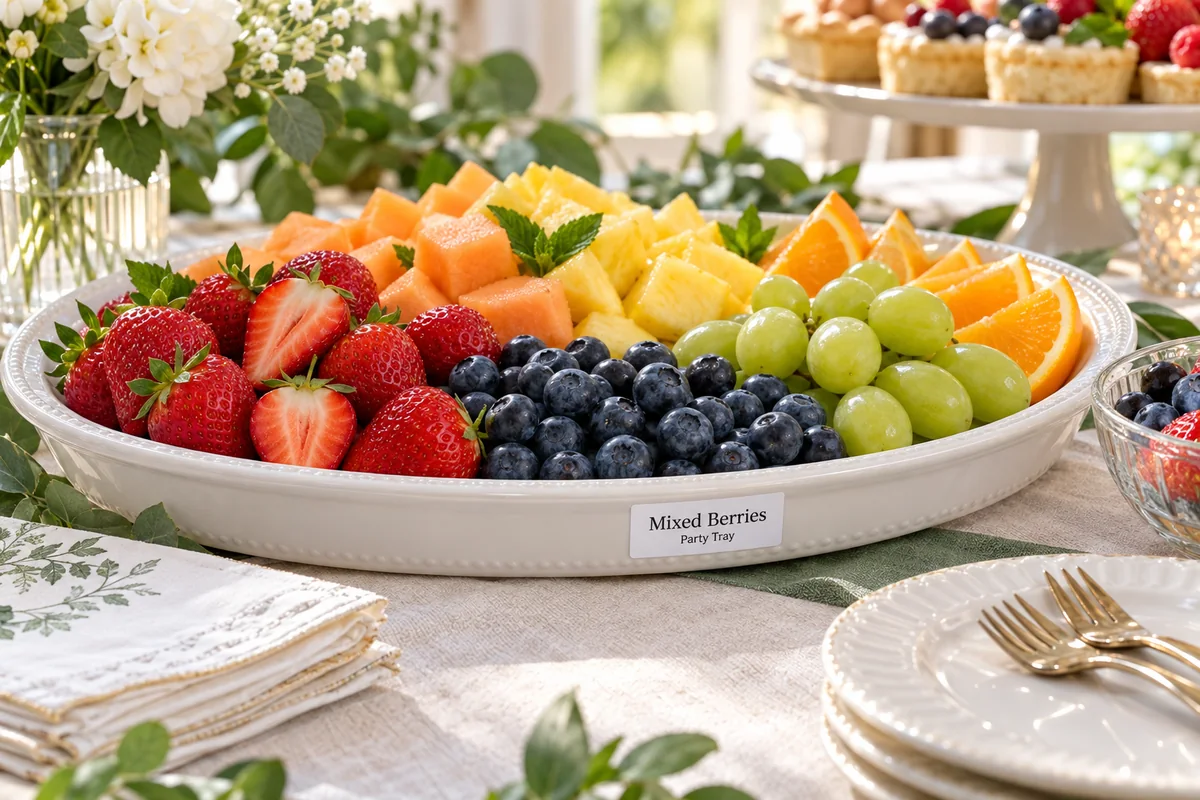
A varied fruit platter looks more appealing than a tray filled with one color or shape. Start with three or four varieties, then add more if the platter is large enough. Think about color contrast: red strawberries, deep blueberries, green grapes, orange segments, and pale melon create a lively mix. Seasonal fruit can help keep the selection fresh and the shopping list straightforward.
Texture matters too. Combine juicy fruit such as melon with firmer choices like grapes or apple slices. Whole berries add small details, while larger pieces of melon or pineapple create a generous base. If guests will be eating while standing, choose pieces that are easy to pick up with a fork or small skewer.
- For a bright tray: Pair red berries with green grapes and orange or yellow fruit.
- For a mild, sweet mix: Combine melon, grapes, pears, and berries.
- For a picnic: Choose sturdy fruit that travels well, such as whole grapes, berries in a firm container, and citrus wedges.
- For a brunch table: Add a few seasonal favorites and keep the arrangement simple beside other dishes.
Wash and Prepare Fruit Before You Cut
Set up a clean work surface before you begin. Wash your hands, rinse the fruit under clean running water, and dry it with a clean towel. Rinse fruit even when you plan to remove the peel, because a knife can transfer dirt from the outside to the inside as it cuts. For firm produce such as melons, scrub the outer surface with a clean produce brush before slicing.
Skip soap and household cleaners when washing fruit. Plain running water is the usual recommendation for fresh produce. Remove bruised or damaged spots with a clean knife, and discard fruit that looks spoiled. Use a clean cutting board and knife, and wash them after preparing the fruit.
Prepare sturdy fruit first, then leave delicate berries until later. Strawberries can be hulled and halved, grapes can be removed from their stems, and melons can be cut into bite-size cubes or wedges. Keep pieces similar in size when you want guests to serve themselves easily. If you are using skewers, make the pieces large enough to stay in place without splitting.
Cut apples, pears, and bananas close to serving because they can brown. If you prepare them early, use a light citrus treatment from a trusted recipe and check the flavor. You can also slice them just before arranging the platter.
Keep Cut Fruit Looking Fresh
Timing is one of the simplest ways to improve a fruit tray. Wash and cut fruit as close to serving as your schedule allows, especially soft or juicy varieties. If you need to prepare ahead, place cut fruit in clean, covered containers in the refrigerator. Keep different types separate when their juices, aromas, or textures might affect one another.
Cold fruit is refreshing, but condensation can make a platter watery. After washing, dry the fruit thoroughly. Chill cut pieces in covered containers, then arrange them on the serving tray shortly before guests arrive. If the tray needs to wait, keep it chilled and bring it out when it is time to serve.
Use a gentle hand when mixing soft fruit. Fold berries into a tray rather than stirring them repeatedly, and place delicate pieces near the top where they are less likely to be crushed. Keep especially juicy fruit in a separate section or small bowl so its liquid does not spread across the whole platter.
Arrange a Fruit Platter with Shape and Contrast
Start with the largest pieces and work toward smaller fruit. Fan out slices, make short rows of grapes, or form small clusters of berries. Repeating shapes creates a sense of order, while alternating colors keeps the platter lively. You can arrange fruit in sections for a clean look or create loose arcs that guide the eye around the tray.
Leave a little open space between some groups. A platter does not need to be packed tightly to look generous. Small gaps make each fruit easier to identify and give guests room to pick up a piece without disturbing the rest. If you are adding mint leaves or another garnish, use a few as accents rather than covering the fruit.
Sectioned Layout
Group each variety in its own area. This makes the fruit easy to identify and replenish.
Color Arcs
Arrange fruit in curved bands, alternating shades for a more decorative centerpiece.
Individual Portions
Use small cups or skewers for gatherings where guests will be moving around.
Set Up a Party-Ready Serving Area
A beautiful platter works best when the surrounding serving area feels simple. Use a clean tray that contrasts with the fruit, such as a white plate for colorful berries or a pale wooden board for melon and grapes. Keep napkins and small plates close by, and make sure there is space to set down a serving fork.
If you are serving several fruit varieties in bowls, small cards can help guests identify them. This is useful when fruit looks similar, when some pieces are part of a recipe, or when you are labeling containers for different tables. A short, readable name is usually enough. Avoid crowding a small card with extra copy that guests will not have time to read.
Use Labels for Fruit Trays and Containers
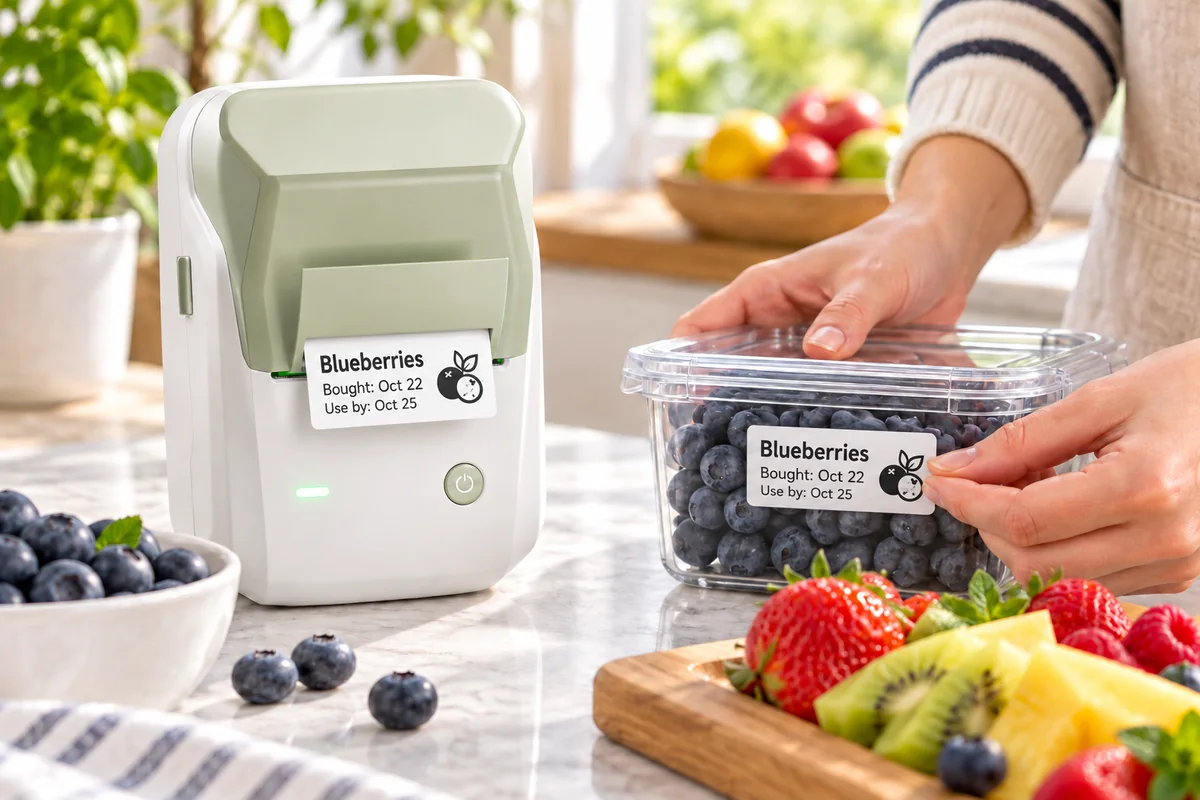
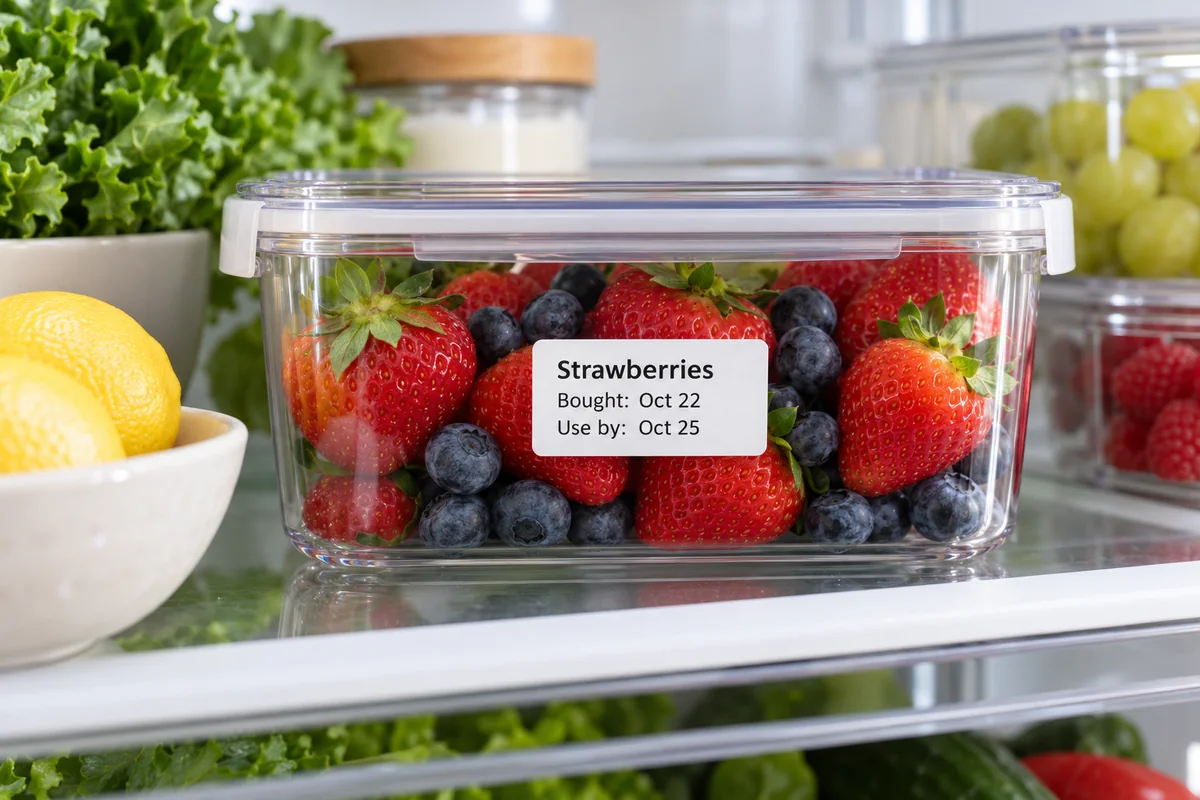
Labels can make a fruit spread easier to organize before and during an event. Mark containers with the fruit variety, the destination table, or the time they were prepared. For a party, a small card beside a platter may be enough. For meal prep or a picnic, an adhesive label on the outside of a container can be easier to read and keep in place.
A food label maker can help you create consistent labels for different fruit containers or serving trays. Use short text such as “Mixed Berries,” “Melon,” or “Fruit Cups.” If you prepare several batches, adding a preparation date or a simple event name can help keep them organized.
Keep labels outside the food container and avoid placing them where they could touch the fruit. Make sure the label surface is clean and dry before applying it. For a decorative table, choose a simple layout with large, clear words. The fruit should remain the visual focus, while the label quietly answers practical questions.
If you often prepare labeled food containers for gatherings, the NIIMBOT B1 2-inch inkless thermal label printer is one option to explore for printing labels. It can fit into a small-batch workflow where names or preparation details change from one event to the next. Check the product page for current printer and label compatibility details before choosing supplies.
Store Leftover Fruit Carefully
After serving, transfer leftover cut fruit to a clean, covered container and refrigerate it promptly. Keep containers sealed to limit exposure to other foods and prevent the fruit from drying out. If the fruit has been sitting out, follow food-safety guidance for the conditions at your gathering rather than relying on appearance or smell alone.
Use clean utensils when serving from a shared platter and avoid returning fruit that has been handled directly to the storage container. When in doubt about how long cut fruit has been unrefrigerated, consult current food-safety guidance for your location. The FDA advises washing produce under running water, refrigerating cut or pre-cut produce, and limiting the time perishable foods sit at room temperature.
Frequently Asked Questions
How far ahead can I prepare a fruit platter?
You can wash and cut sturdier fruit ahead, then store it covered in the refrigerator. Arrange delicate berries and fruits that brown closer to serving time for the freshest appearance.
How do I stop apples from browning on a fruit tray?
Slice apples close to serving time or use a light citrus treatment from a trusted recipe. Test the flavor first, since citrus can change the taste of the fruit.
What fruit works well for a party platter?
Choose a mix of colors and textures, such as berries, grapes, melon, and citrus. Consider what is in season and select pieces that are easy for guests to pick up.
Can I label fruit containers with a food label maker?
Yes. A food label maker can print short names or preparation details for the outside of containers. Keep labels away from direct contact with the fruit.
How should I keep fruit cold at a party?
Keep the platter chilled until serving and replenish it from a covered container in the refrigerator. For longer events, serve smaller batches and keep the rest cold.
Make Fresh Fruit Easy to Enjoy
A colorful fruit platter comes together with a few practical choices: mix colors and textures, wash and dry fruit before cutting, arrange pieces so guests can serve themselves, and keep prepared fruit chilled until serving. Labels can make the setup easier when you are preparing several containers or sharing a table with different varieties.
If labels are part of your party-prep routine, explore the NIIMBOT B1 label printer and check the product page for details. A tidy label for “Mixed Fruit” or “Berry Cups” is a small touch that helps your colorful spread feel organized and ready to enjoy.
Make Party Prep a Little Easier
Explore the NIIMBOT B1 for fruit labels and food containers.
Explore NIIMBOT B1 →For safe handling, follow current guidance from the U.S. Food and Drug Administration on washing and storing fresh produce.